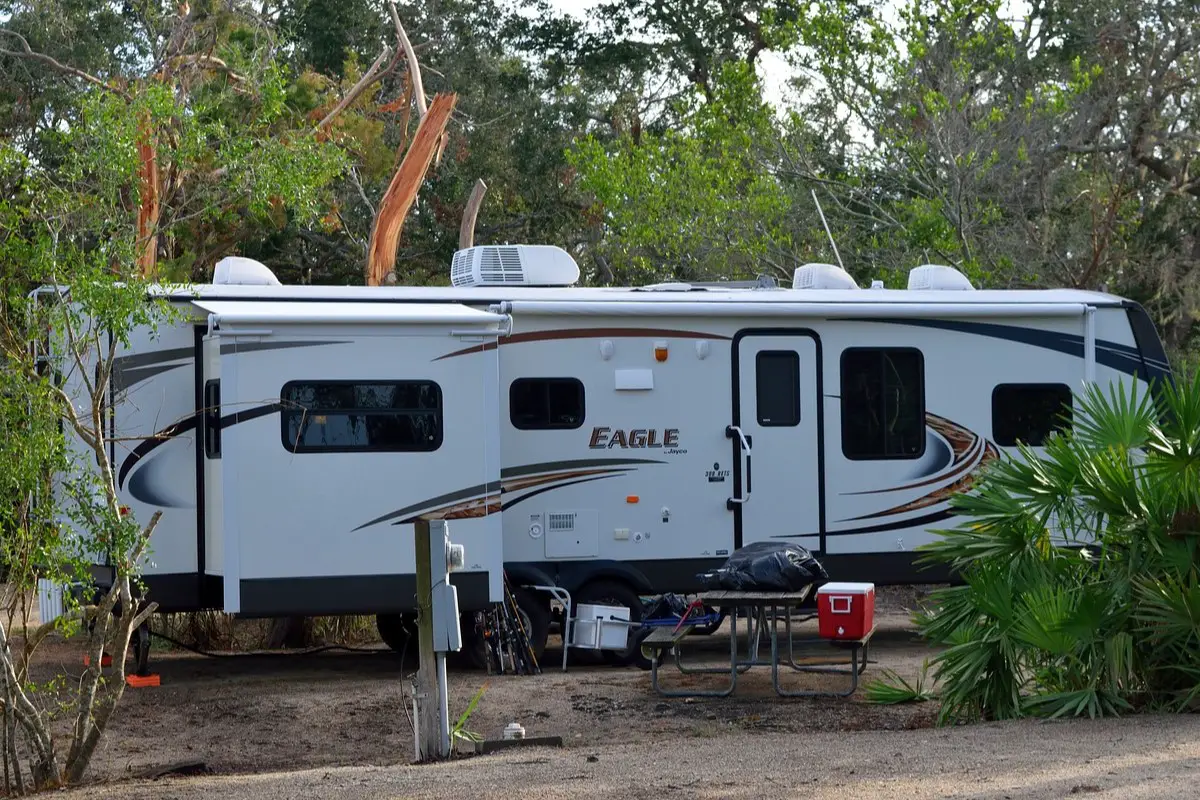
Owning an RV allows you to experience the freedom of the open road, but dealing with a leaky roof can quickly put a damper on your adventures. Fortunately, with the right knowledge and a bit of elbow grease, you can tackle RV roof repair on your own. In this comprehensive guide, we will explore effective DIY RV roof repair methods, offering valuable tips on how to fix a leaky roof on an RV yourself. Let’s dive in!
Understanding the Common Causes of RV Roof Leaks
Before delving into the DIY repair process, it’s essential to understand the common causes of RV roof leaks. Weathering, age, and wear and tear can lead to cracks, gaps, and damaged seals, allowing water to seep into your RV. Identifying the source of the leak is the first step toward successful roof repair.
DIY RV Roof Repair Tips and Techniques
1. Gather Your Materials:
To start your DIY RV roof repair project on how to seal an RV roof leak, gather essential materials like sealant, roof patch kits, a putty knife, and a caulking gun. Ensure you choose high-quality, RV-specific products for a long-lasting repair.
2. Inspect the Roof Thoroughly:
Carefully inspect your RV roof to identify the areas in need of repair. Look for cracks, punctures, or damaged seams. Pay close attention to the roof edges, vents, and seams, as these are common trouble spots.
3. Clean the Roof Surface:
Clean the roof surface using a gentle cleanser and water to remove dirt, grime, and old sealant residue. A clean surface ensures proper adhesion for the new sealant.
4. Apply Roof Sealant:
Use a high-quality RV roof sealant to cover the identified problem areas. Apply the sealant generously, ensuring it fills all cracks and gaps. Smooth out the sealant with a putty knife for a neat finish.
5. Consider Roof Patch Kits:
For larger cracks or holes, consider using RV roof patch kits. These kits contain patching materials designed specifically for RV roofs, providing a durable and waterproof solution.
6. Seal Roof Edges and Seams:
Pay special attention to roof edges and seams. Apply sealant along these areas to prevent water from seeping underneath. Properly sealed edges and seams are crucial for effective leak prevention.
7. Regular Maintenance Is Key:
Perform regular roof inspections and maintenance to catch potential issues early. Prompt repairs can prevent extensive damage and save you from costly repairs in the future.
Conclusion
Fixing a leaky roof on an RV yourself is entirely possible with the right tools, materials, and know-how. By following these DIY RV roof repair tips and techniques, you can enjoy worry-free travels and ensure your RV remains in excellent condition. Remember, a well-maintained roof is essential for a comfortable and enjoyable RVing experience. Happy travels!
Read More
24 Hour Beaches Near Me, Ultimate Guide
Best RV Sales Dealerships in USA for Your Ultimate Journey
RV Rental Companies that Allow Pets Including Cats & Dogs
Winter Camping Safety Tips for Families | Comprehensive Guide to Keep Your Kids Safe & Warm
Camping Tips for Hot Weather: How to Stay Cool While Camping
How to Maintain an RV Interior on a Budget | DIY RV Interior Maintenance Tips
Best RV Solar Panel Kits and DIY Installation Ultimate Guide

