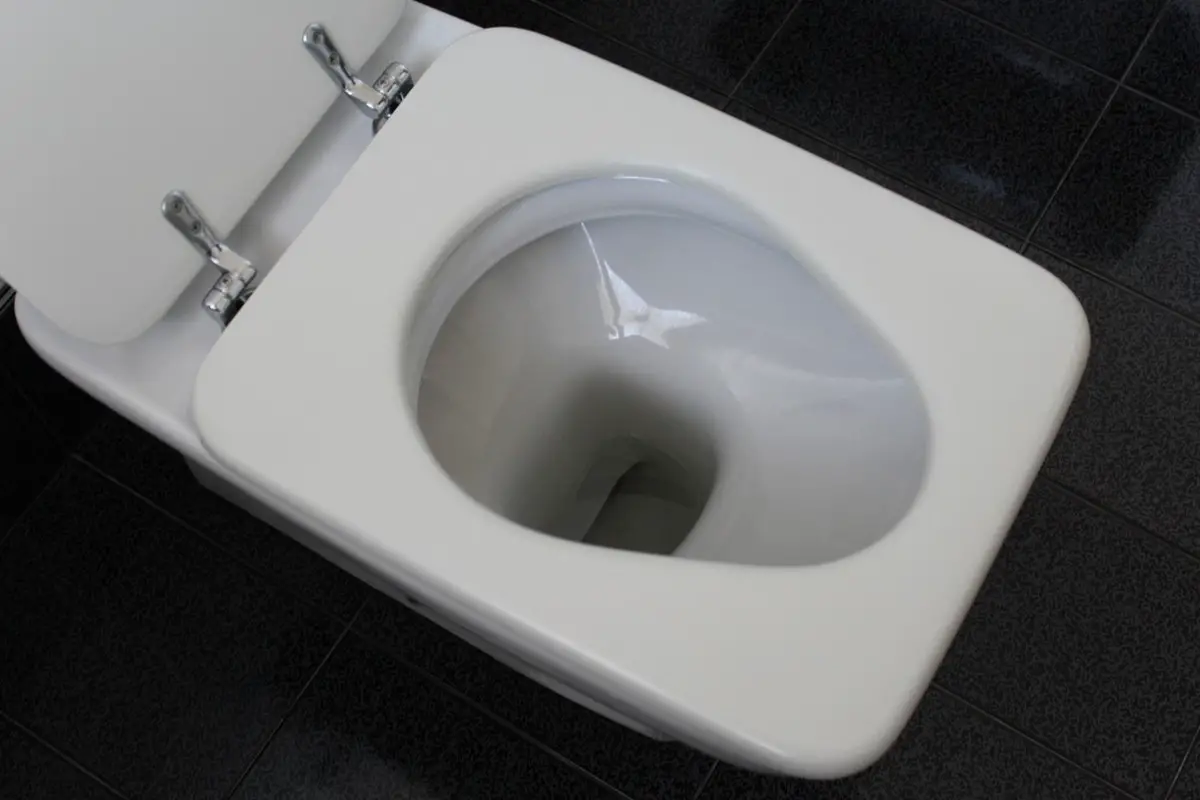
Experiencing a broken RV toilet can put a damper on your outdoor adventures. Fear not! With this comprehensive guide, you’ll learn how to fix a broken RV toilet step by step, engaging in a satisfying DIY RV toilet repair journey. We’ll explore effective RV toilet troubleshooting techniques and provide you with detailed steps to fix your RV toilet, ensuring a seamless and hassle-free experience.
Identifying Common RV Toilet Problems:
Before we delve into the repair process, it’s essential to understand the typical issues you might encounter in an RV toilet:
Leaking Seals: Leaking seals are a frequent headache for RV owners, leading to water seepage around the toilet base.
Clogged Pipes: Clogs in the pipes can cause inefficient flushing and drainage, making your toilet less effective.
Malfunctioning Flush Valve: A faulty flush valve can disrupt the flushing mechanism, hindering the toilet’s proper operation.
Broken Flush Pedal: If your flush pedal is broken or not functioning correctly, it can impede the flushing process, making it difficult to maintain hygiene.
Steps to Fix an RV Toilet:
Step 1: Gather Your Tools and Materials
Begin by assembling the necessary tools and materials for the repair. You’ll need a wrench, pliers, seal lubricant, a replacement flush valve or pedal (if required), and a new seal kit.
Step 2: Turn Off the Water Supply
Locate the water supply valve near your RV toilet and turn it off. This prevents leaks and ensures a mess-free repair process.
Step 3: Remove the Toilet
Using a wrench, carefully unscrew the bolts securing the toilet to the floor. Once removed, place the toilet on a stable surface, preferably covered with towels or newspapers.
Step 4: Diagnose the Issue
Thoroughly inspect the toilet to identify the problem. If you’re dealing with leaking seals, consider replacing them using the new seal kit. For clogged pipes, use a plumbing snake to clear the obstruction. In the case of a malfunctioning flush valve or broken flush pedal, replace them with the appropriate parts.
Step 5: Reassemble and Test
After fixing the issue, reassemble the toilet by securing it back to the floor with bolts. Turn on the water supply and test the toilet to ensure it flushes correctly and there are no leaks.
Conclusion:
By following these detailed steps and utilizing your DIY spirit, you can successfully fix a broken RV toilet. Remember, regular maintenance and prompt repairs are key to ensuring your RV toilet functions optimally during your outdoor adventures. Happy camping!
Read More
24 Hour Beaches Near Me, Ultimate Guide
Camping Activities for Adults: Fun, Adventure, and Bonding Ultimate Guide
Best RV Towing Vehicles & How to Choose the Best RV Towing Vehicle Guide
Camping Tips for Beginners with Dogs | A Comprehensive Guide for a Pawsitive Experience

